You might find it hard to believe that it sometimes rains in the Highlands. This causes some problems for my wood processing, as it is difficult to complete the cutting and chopping of a whole tree(s) without some of it getting wet. It is a particular problem for windfall (trees blown down during storms), as they aren't planned. I needed some short-term storage, and it needed to be big. A lean-to shed or a Dutch barn might be more permanent structures that could answer my need, but they would be time consuming to build and expensive. A polytunnel might give me sufficient space, be suitable for short-term storage and is cheap to buy.
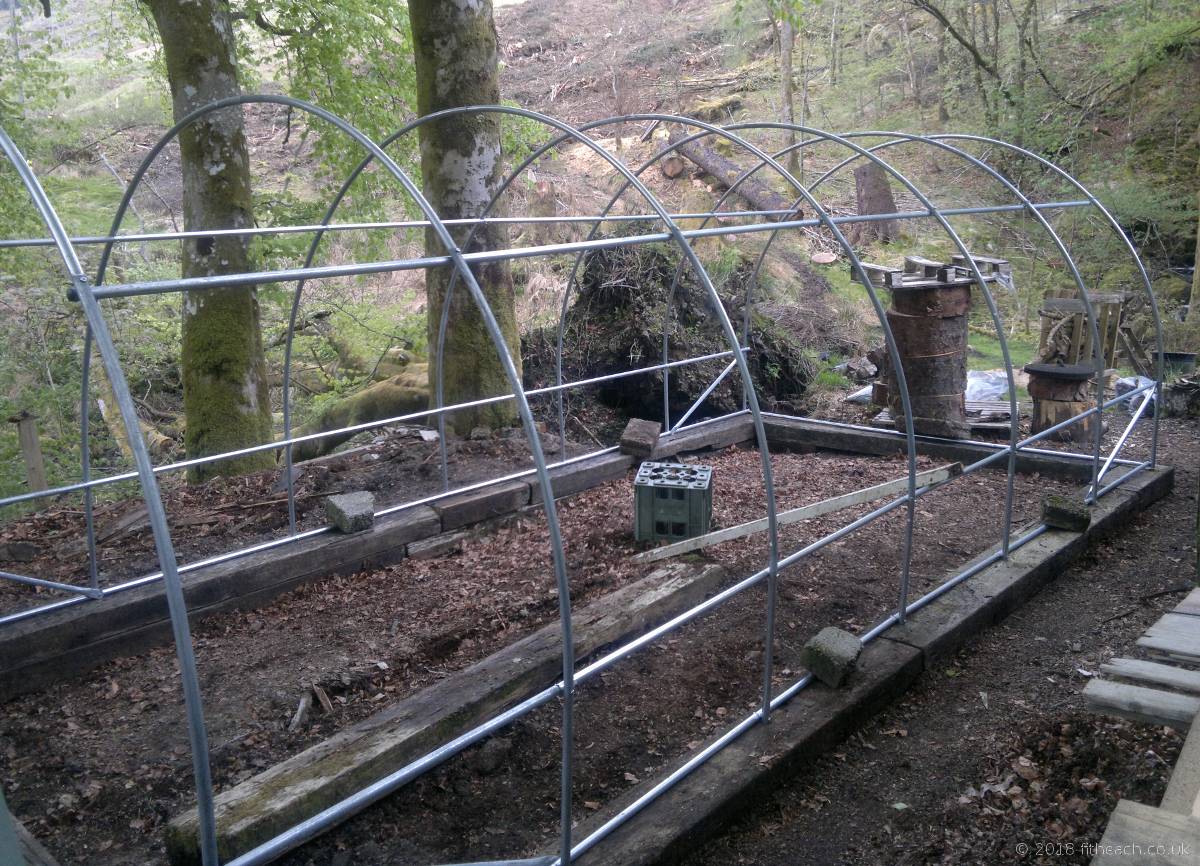
The polytunnel frame sitting on a base of railway sleepers
So, with my decision made to use a polytunnel, I needed to purchase one. My brief research suggested there were two basic types of polytunnel: ones with loose coverings and those with a tight stretch covering. The ones with a stretch covering are more rigid, as the covering and frame work together to create something stiff. I decided against this type of polytunnel for two reasons. Firstly, the area I had assigned for my polytunnel sat below some large beech trees, which occasionally shed branches. These branches could easily puncture a taut plastic covering. Although the branches might also puncture a loose cover polytunnel, repairs would be easier. The second reason was cost. The stretch fit polytunnels are several times more expensive.
Installation
I found an online supplier selling a loose covering polytunnel for around £150, including delivery. This gave me a polytunnel that was 6 metres long, 3 metres wide and 2 metres high (at the centre point). The erection instructions assume you are installing the polytunnel on a grassy area and recommends that you cover the plastic skirt with soil, around the base. I was installing the polytunnel on a non-grassy area, so I created a foundation using railway sleepers. This has the added benefit that it makes the polytunnel slightly higher, and thus more room for wood. As the installation site had a slight slope, one side was raised by using a double layer of sleepers. I nailed straps at regular intervals over the polytunnel frame, securing it to the sleeper foundations. Getting the cover on was a bit tricky, as I was doing it by myself. Having a helper when doing this job would make things much easier. As I discovered later, I was lucky there was effectively no wind when I put the cover on.
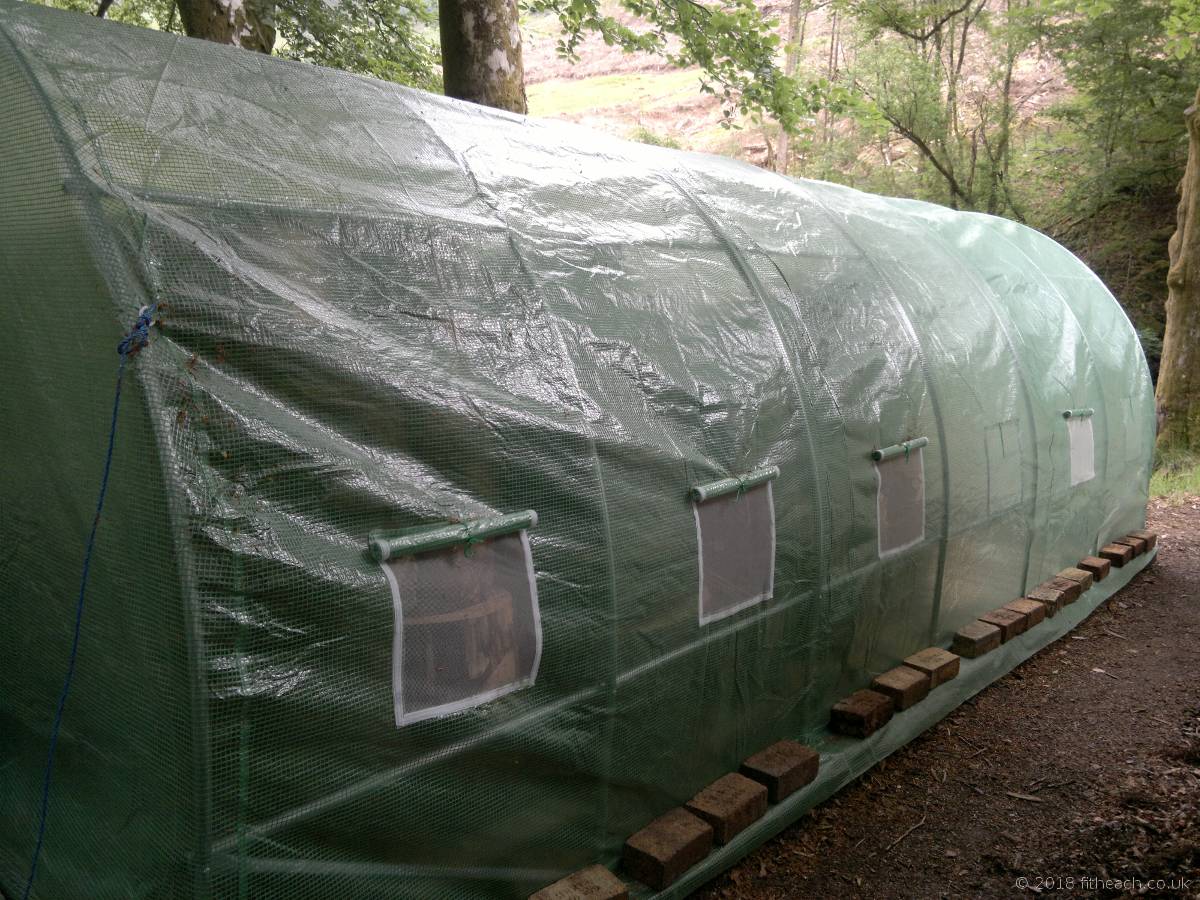
Long side view of the polytunnel, with the covering on.
The weather forecast suggested rain was coming, so I made use of my new polytunnel immediately, even though the installation wasn't complete. I didn't foresee the problem the forecasted wind was going to cause. If there is a strong wind, it is possible for air pressure to build up inside the polytunnel faster than it can be expelled. The wind can get in through the roll-up vents or through the open doorway. This problem could probably be averted if you had a polytunnel model with two large doorways (one at each end). Counter-intuitively, in windy conditions, it might be better to open both doorways, as it would let air pass-through. My polytunnel model only has one doorway.
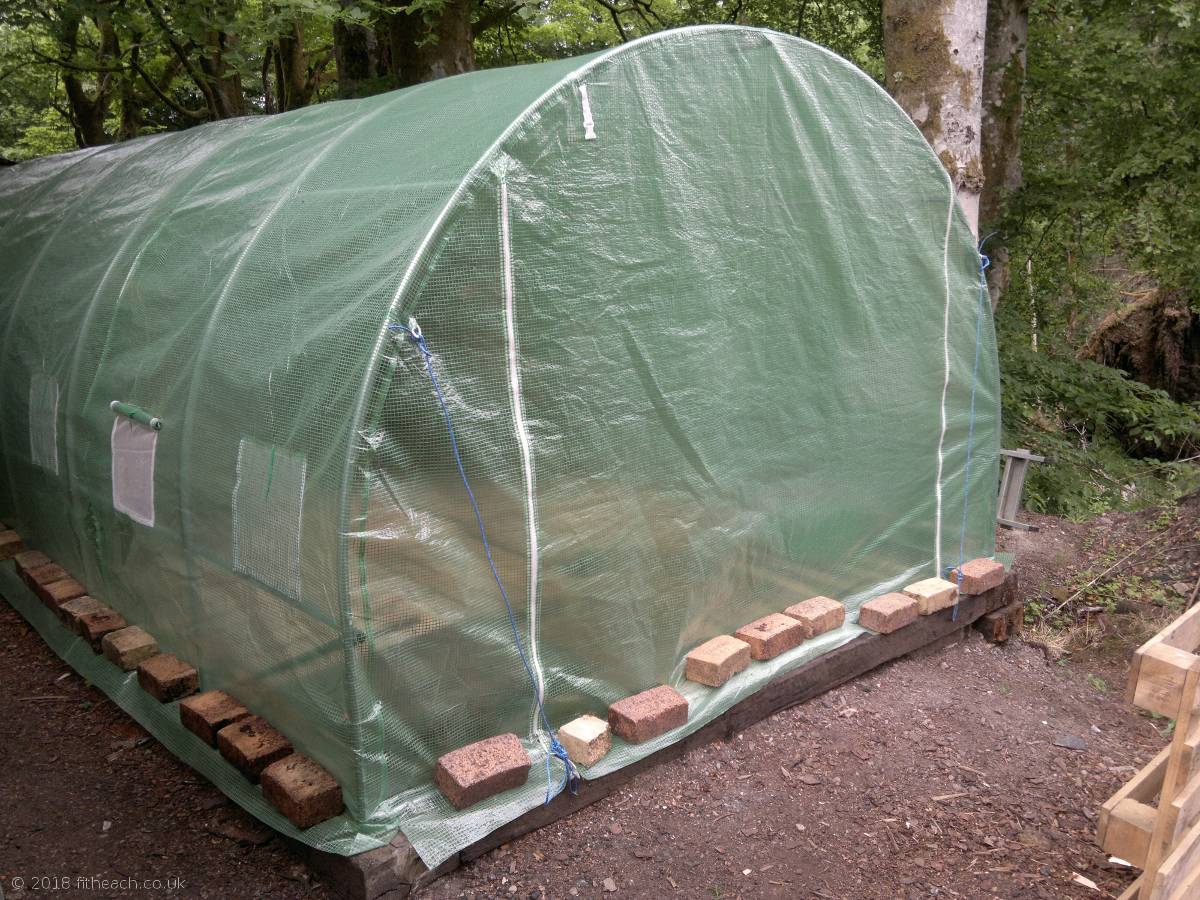
The front, and only, doorway in my polytunnel.
During the night, the wind got inside, blew up the covering like a balloon and all the bricks popped off. When I saw the polytunnel in the morning, the covering was completely off, and was lying crumpled on the ground, all along one side. Luckily, there was no damage done. However, I now had to put the cover back on, while battling against 30mph winds. It was quite an ordeal, and took over two hours, as yet again I was doing it by myself. I managed it just before the rain started. I was exhausted, but happy.
It was at this stage that I replaced my temporary brick solution with something more resilient. I used sections of garden hosepipe which I nailed through the plastic skirt, onto the sleepers below. I'm hoping the hosepipe will act as a cushion preventing the plastic skirt from ripping where the nails go through. The polytunnel has been in place now for 6 months and has survived some fairly strong winds during October and November. The hosepipe solution seems to be working. I am dubious that covering the skirt with some soil would work, as was suggested in the manufacturer's installation instructions.
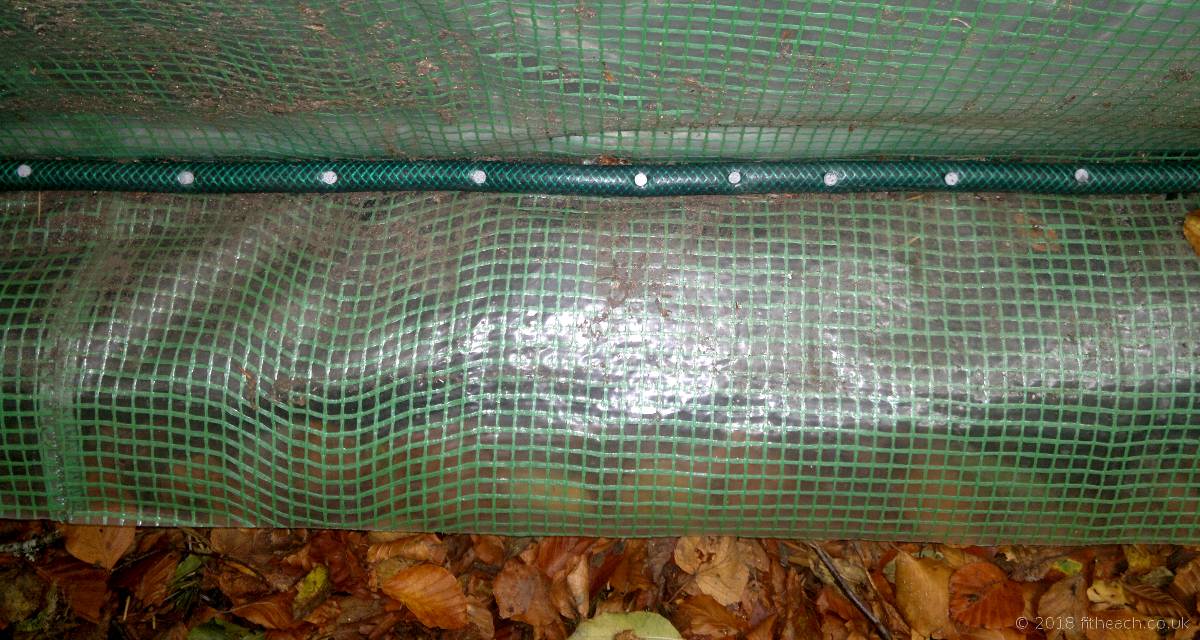
Section of the polytunnel skirt, nailed to the sleepers with a hosepipe for cushioning.
Usage
My intended usage for the polytunnel is for short-term storage of wood that hasn't been fully processed. Typically, this will be slices of mature sitka spruce, which can be stacked on top of each other. On dry days the slices can be removed, split into logs and then placed into what I call cages (to be described in a future article). On sunny days there is a nice heat build-up inside the polytunnel that helps dry the wood. As expected, it is just like a glass greenhouse. Standing outside the polytunnel you can hear the wood crack as it dries. This is very satisfying.
There is, however, one small problem: condensation. I fully expected that condensation would be a problem as polytunnels aren't designed for wood storage. Opening the vents (or the front doorway) can prevent any condensation build-up or remove any that has gathered on the inside of the plastic covering. However, as described above, this isn't advisable when it gets windy. For the time being I will just need to keep a careful watch on the weather conditions, and judge whether it is safe to open the vents or not. Longer term, and if I am feeling brave, I may cut a permanent doorway at the rear. This would also have the advantage of maintaining a constant airflow inside the polytunnel.
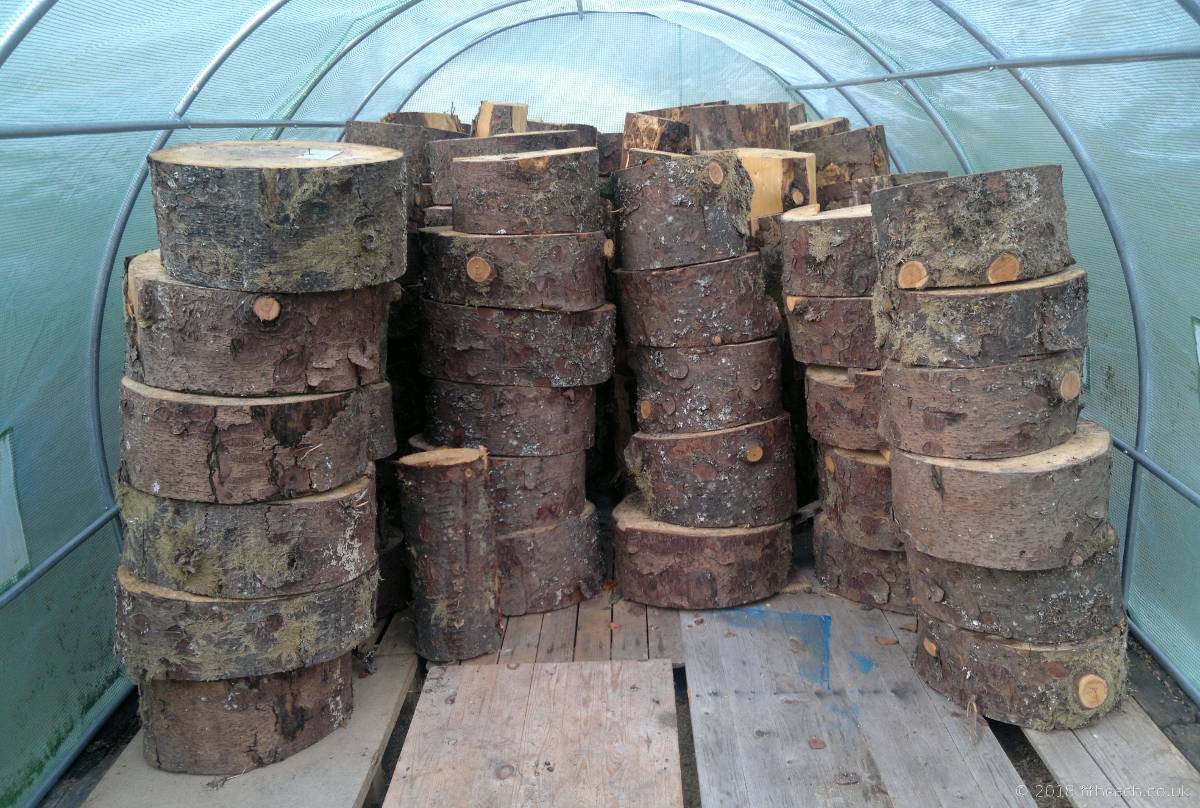
Slices of sitka spruce, stacked inside the polytunnel.
I never intended to use the polytunnel for storing split logs, as it would be both impractical and space inefficient. Split logs would need to be constrained within cages, as otherwise they could fall against the plastic sides and rip-open the polytunnel. It would also be difficult to construct cages which curved at the sides to accomodate the shape of the polytunnel. I don't intend to store long poles in the polytunnel either, due to the risk of puncturing the sides inadvertently.
Damage to the polytunnel could just as easily come from the outside. I constructed a corral around the chopping block partly to prevent logs from flying off and hitting the polytunnel. It is an obvious concern that the polytunnel is fragile, compared to a building constructed from wood or metal, but with a little care it may not be a problem.
After six months of usage I can say that the polytunnel has worked well for my purpose and would recommend it to anyone wanting to do something similar at a bargain basement price.