This is an article on how to make sauerkraut at home. I'm not going to give you a precise recipe with measurements down to the gram, nor will I set out the exact equipment you should use. Instead, I will describe the process and the proportions of ingredients I use when making fermented cabbage. Armed with an understanding of the concepts, it is easier to adapt to using different quantities of cabbage, introducing new ingredients or dealing with changing ambient temperatures.
In recent years sauerkraut, along with other fermented foods such as kimchi & kefir, has become a trendy food because of the benefits for your gut flora. However, to get the probiotic benefits from sauerkraut it needs to be "live". Shop bought sauerkraut is likely to be pasteurised, as that means it can be stored at room temperature[1]. Once pasteurised, the probiotics in sauerkraut are destroyed. If you want nice, probiotic sauerkraut you need to make it yourself. Luckily, homemade sauerkraut is very easy to do, fun to make and downright tasty.
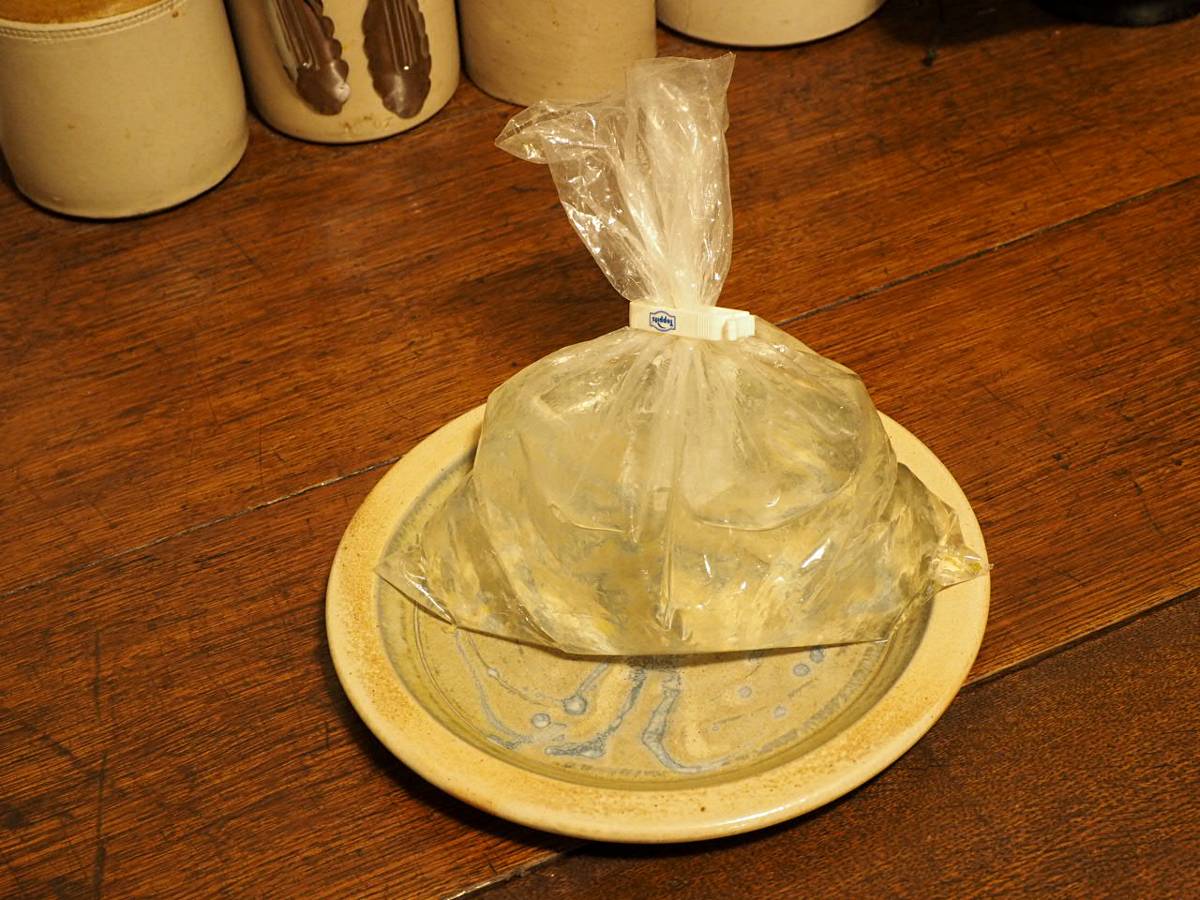
Plastic bag, with Klippit, used as a weight for the sauerkraut.
Background
The production of sauerkraut relies on a process of lactic acid fermentation, where various bacteria (including lactobacillus) consume the natural sugars present in the cabbage, and in turn produce lactic acid. It is for this reason that sauerkraut tastes sour. The increasing acidity of the sauerkraut kills off any pathogens present and prolongs the edible life of the cabbage. However, this is only true for the cabbage that sits below the level of the fermenting juice. It is possible for nasty bacteria to grow elsewhere on your equipment, so it is important to make sure all the equipment is sterlised beforehand. It sounds onerous but can be as simple as rinsing everything in very hot water. We have an Aga range cooker with a lower oven, which has a constant temperature around 70°C, I just place everything in there for a short while to sterilise.
Equipment
It is possible to buy purpose made equipment or you can use various items which you already possess. I took the latter route, and it works fine.
The cabbage needs to be finely sliced. I have in the past attempted to do this using a mandolin, but it was too small to deal with large cabbages. I resorted to using a large, sharp kitchen knife instead. It is possible to get big cabbage slicers and one of those would certainly be worthwhile if you were making large quantities of sauerkraut (could also be used for coleslaw).
You will need a large bowl to work the sliced cabbage and salt together. It is likely your bowl won't take the full quantity of cabbage in one go, but you can work a proportion of the cabbage and salt until the volume reduces, and then keep adding more until finished.
The most important piece of equipment is the fermenting crock or jar(s). I had a large (nearly 5 litres) glass jar, which was a butter churn in a previous life. The glass is non-porous which means there is no interaction with the fermentation process. The glass is also transparent, so I was able to view the bubbles rising to the surface. It is nice to know things are working, and fun to watch. I use about 2kg of cabbage for every batch of sauerkraut. This amount of cabbage (particularly Savoy) sliced thinly has enough volume to fill my jar about three times. However, once you have worked the salt and cabbage together, the volume decreases dramatically. After this process my 2kg of cabbage only fills about two-thirds of the jar. This is important as you need space in the jar for a weight, and to accomodate a little expansion. The fermentation process creates gas bubbles that push the cabbage slices apart, so some extra room in the jar is necessary.
A weight is needed to prevent the cabbage from floating to the surface inside the jar. Any cabbage floating above the juices won't ferment and might go mouldy. I found the best weight was a food grade plastic bag filled with 1 litre of brine, and closed with a Klippit.
To cover my jar, I stretched cling film over the opening. I put a single, small puncture hole in the cling film, to allow the fermentation gasses to escape. To make sure that the cling film doesn't come off, I held it in place with a rubber band. Just in case your crock or jars should overflow (due to the fermentation gases) it would be wise to place it/them on a tray.
My fermentation jar is much too big to go in the refrigerator, so I also need about 10 jam jars for long-term, cold storage. Alternatively, you could use several smaller fermentation jars, which can go into the refrigerator thus saving one step in the process. As I used jam jars, I also needed a jam funnel and a spirtle for packing the jars.
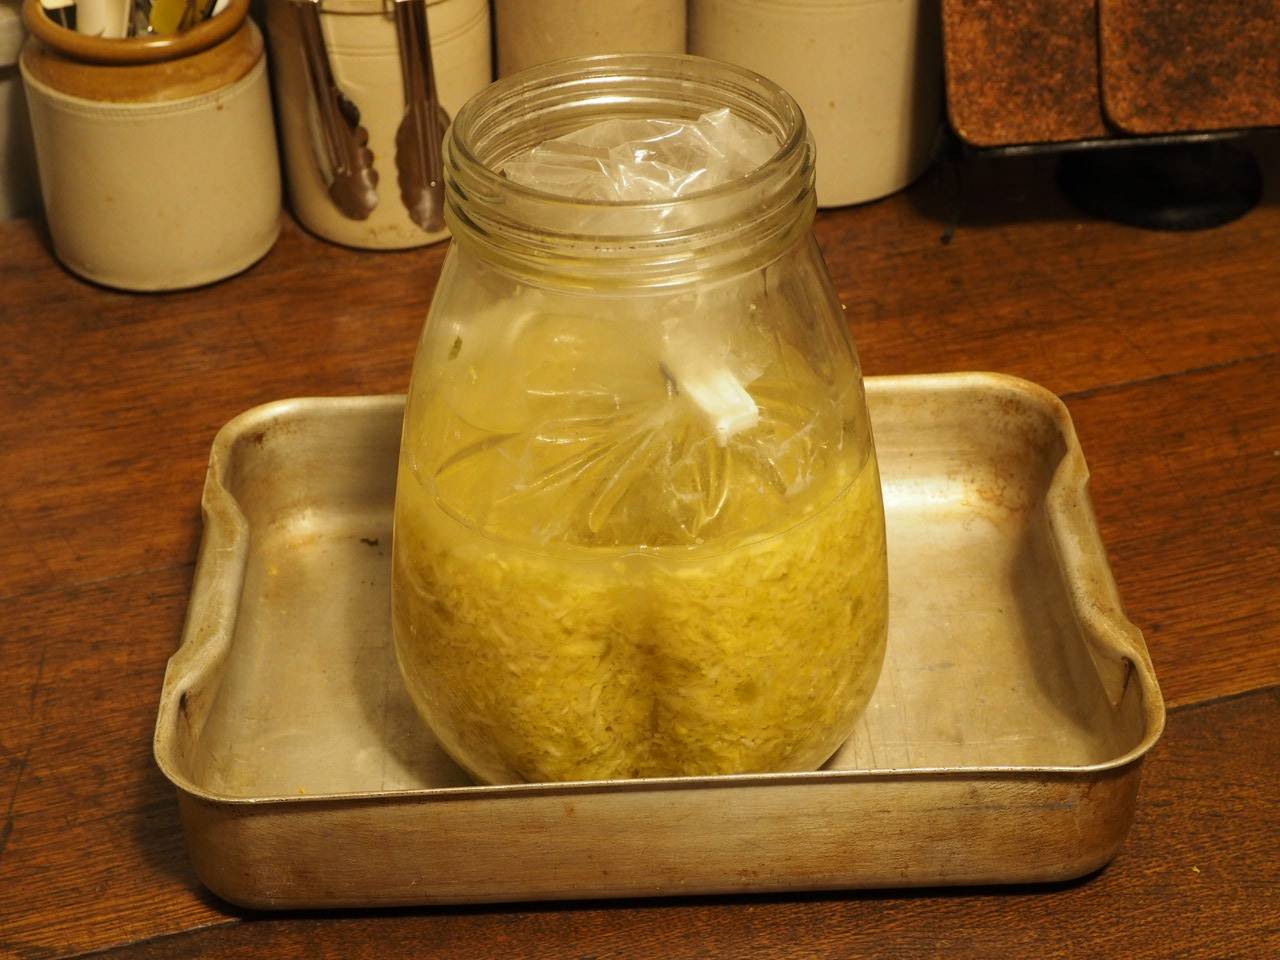
Sauerkraut with bag of brine in place.
Ingredients
The two basic ingredients for sauerkraut are cabbage and salt, although it is possible you may need to add some water. The type of cabbage isn't critical but I have a preference for using Savoy. It is also possible to add other ingredients according to your own preferences, such as carrot, ginger and garlic. Give the cabbage a good rinse to get rid of any pesticide residues. Even if you are using organic cabbage, give it a rinse as it may be covered in soil
Normal table salt is best avoided, as it may well have additives that would inhibit the fermentation. I have always used a good quality sea salt. In a similar way, if you need to add water, a non-chlorinated source would be better. Same goes for the water used to rinse the cabbage.
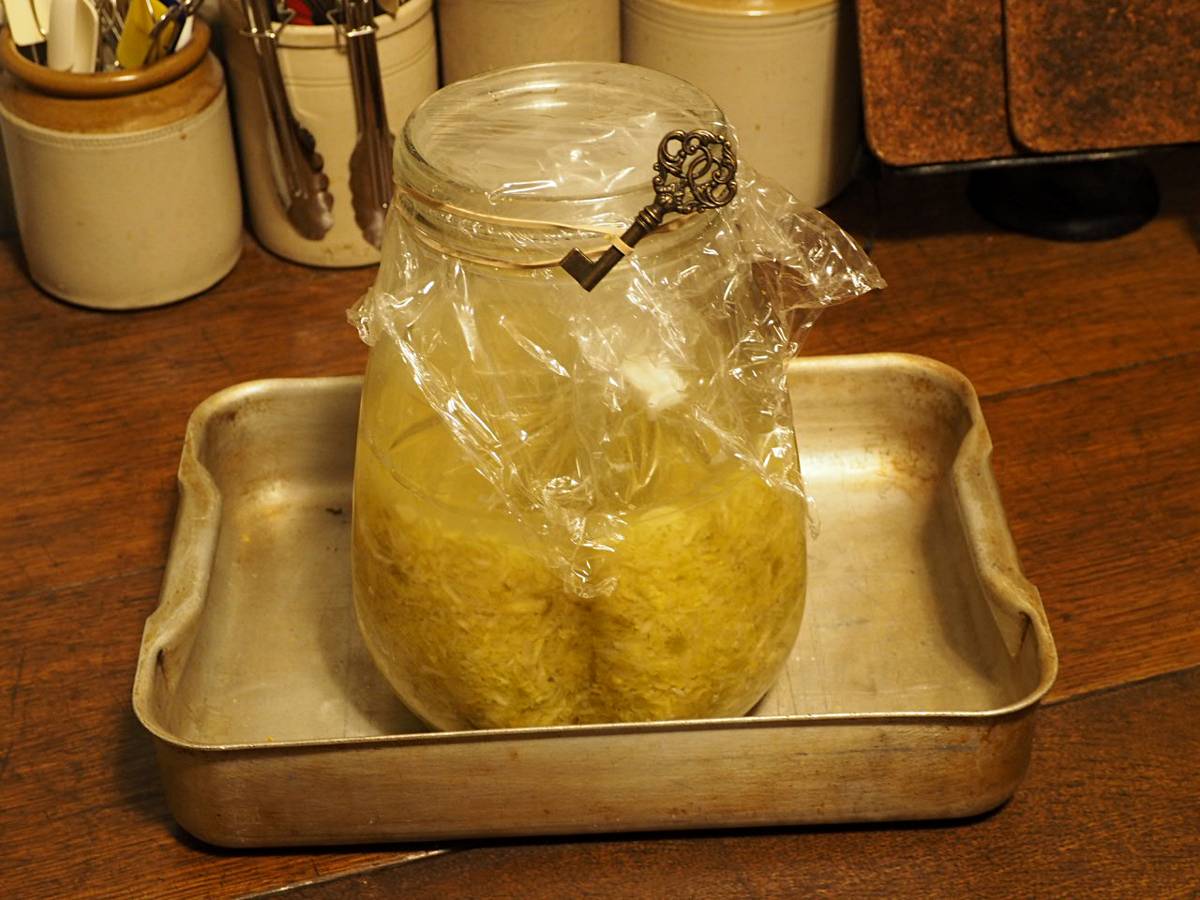
Crock with lid on, ready for fermenting.
Cabbage and salt ratio
A topic which is endlessly debated is the ratio of salt to add to the cabbage. Too little salt will mean it takes longer for the juices to come out of the cabbage and for the fermentation to begin. Too much salt (within reason) only has the effect of changing the taste. My particular magic ratio is 1 tablespoon of salt to 730g of cabbage. If you prefer your sauerkraut a liitle less salty, just increase the amount of cabbage in the ratio.
If your cabbage doesn't produce enough juices, or you are using the plastic bag method to weigh down the cabbage, you will need some brine. Brine is just a water and salt mixture. I make the brine with a higher salt concentration of 2 tablespoons of salt per 1 litre of water. Should your bag leak a little brine it won't dilute the mixture in the jar. The higher salt concentration in the brine will be closer to the salt concentration in the cabbage juices. Make sure your brine has a similar temperature as the room used for fermenting. If the brine is too cold it will inhibit the fermentation process.
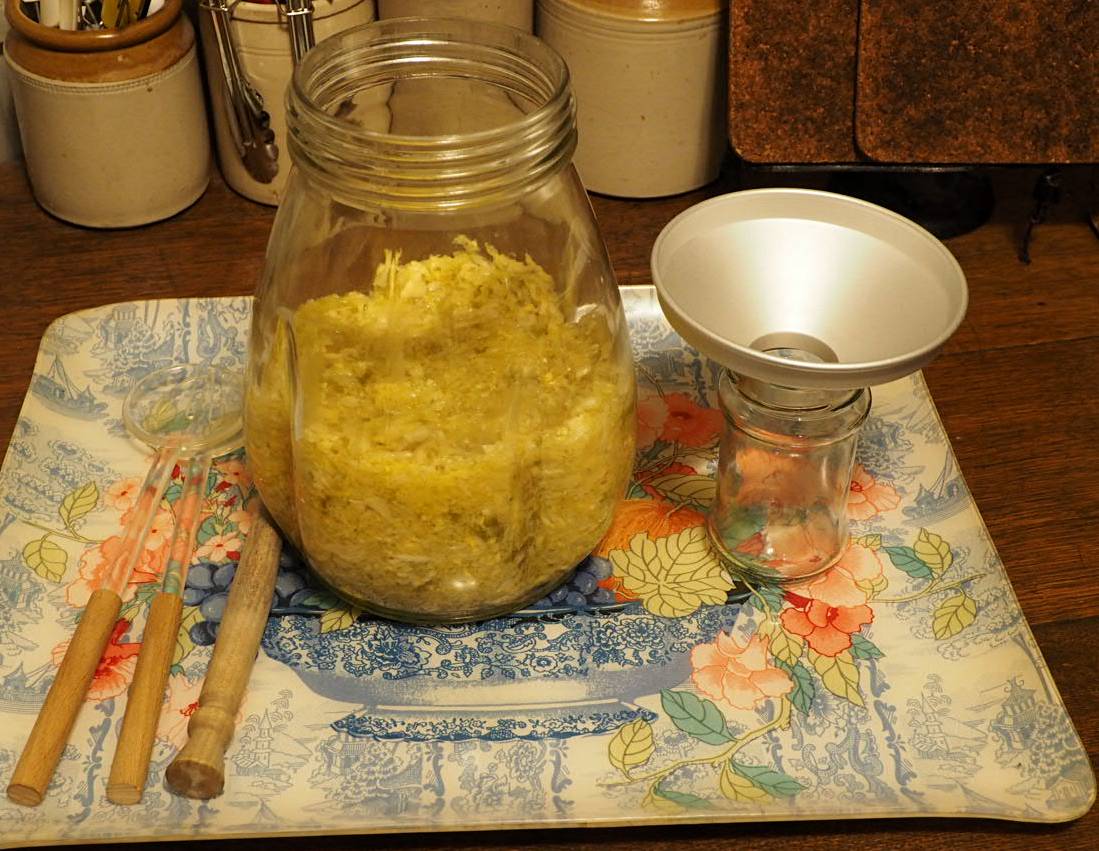
Sauerkraut finished fermenting, ready to be jarred.
Process
- Cut your cabbage(s) in half and remove the core(s). If you have any leaves with particularly thick stems, you may want to remove them, too.
- Slice the cabbage thinly. Thinly sliced cabbage has two advantages. Firstly, it is easier to eat. Secondly, you will have more of the cabbage exposed to the salt mixture, which quickens the fermentation process. I also cut the cabbage slices so they are no longer than 5-6cm, as anything bigger is awkward to eat.
- We now want to massage the cabbage and salt together to bring out the natural juices. My mixing bowl isn't big enough to take all of the raw cabbage in one go. I put about a third in, and start mixing with a third of the salt. I start rubbing the cabbage and salt together using my fingers. After a short while the juices start to come out and the cabbage volume decreases. I add the next third, repeating the process, and then the final third.
- It would be possible to keep working the cabbage mixture until it is ready to put it into the fermentation crock. However, I find it is easier to leave the cabbage aside for about four hours, and then complete the massaging. The resting period allows some of the juices to come out naturally, and saves some of the massaging work. Make sure your bowl is covered during the resting period.
- The cabbage needs to be put into the fermentation crock or jars. You need to have about 3-4mm of juices above the level of the cabbage. If there aren't enough juices to cover the cabbage, you will need to add some brine. Different varieties of cabbage, or the same cabbage at different times of year, can contain more or less juices. Most of the time I don't need to add any brine to the cabbage.
- Place your weights or brine filled plastic bag on top of the cabbage.
- Cover the crock or jars. Purpose made crocks often come with a moat which you fill with water. The lids of these crocks sit in the moat, which creates a seal. The fermentation gases can escape because the pressure forces them past the water. I achieve something similar by stretching cling film over my crock and securing it with an elastic band. To allow the gases to escape, but prevent beasties getting in, I create a small puncture hole in the cling film, using a skewer.
- The cabbage needs to sit somewhere warm without temperature variations, and out of direct sunlight. Anything above 15°C should work, but I find 20-22°C is better. I recently had a batch where the room temperature was 26°C+ and the fermentation happened too quickly (just five days). Although the fermentation worked, the flavour wasn't quite as good and the cabbage was more crunchy. On the other hand, I made a batch during a really cold winter spell, where the average temperature was around 16°C and the sauerkraut took over four weeks to ferment. That extended fermentation didn't affect the flavour or texture.
- You should see fermentation bubbles (assuming you are using a glass crock or jars) after 12-36 hours. If there aren't any bubbles, check the temperature. The gas bubbles might take longer to appear if the temperature is low.
- Check that the creation of the bubbles hasn't pushed your cabbage above the juice level. If it has, remove the cover and your weight and using a sterlised tool (rolling pin) push down the cabbage. Replace the weight and the crock cover.
- The fermentation should take about a week or possibly more dependent on the ambient temperature. After four or five days take some of the sauerkraut out and taste it. If it isn't ready, leave it for another couple of days and test again. The level of sourness is, of course, a personal preference.
- Once the saurkraut is ready, it is time to put it somewhere for long term storage. I use the refrigerator, as that ensures a consistent low temperature which lengthens its storage life. The sauerkraut can be kept like this for up to a year, but it always gets eaten long before that, in our household. The large crock is too big for easy handling and storage, so I transfer the sauerkraut into jam jars. If you do the same, make sure all the equipment is sterlised.
That's it. Enjoy your sauerkraut.
Feel free to ask any questions in the comments section below.
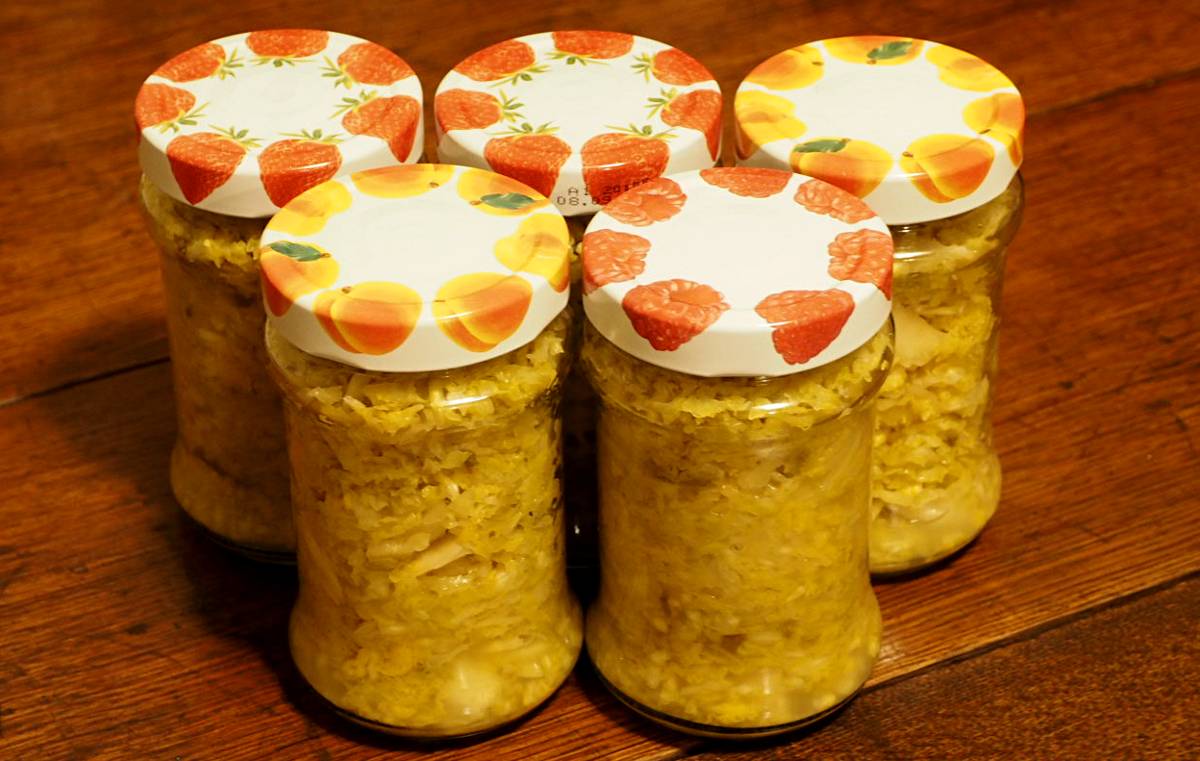
The finished sauerkraut in jam jars.
I will update this article, if needed, by adding notes in the section below.
Notes
- It would be possible for live sauerkraut to be sold commercially but it would either have to be sold very fresh or stored in refrigerators. If live sauerkraut were stored at warmer temperatures the fermantation would continue and it would become more and more sour. Not only that but the continuing fermentation produces gas which would mean the jars would likely leak or even possibly explode.
- I recently broke my large glass crock. I may be moving to using multiple 1 litre jars instead. If so I will update the article with any further discoveries.